
I've done a couple of quick "alters" on my MTG cards before using black Sharpies and ink pens. It's usually just a doodle, something quick to commemorate an event or fancy up my signature. But actually coloring on a card is something I've been wanting to try for a while. Thanks to the pandemic, I've got some time on my hands to try new things.

Up first, I raided my kids' art supplies. I grabbed everything that looked like it could be useful including paints, brushes, and markers with lots of different colors and tips. My kids love art, so they get lots of art supplies for gifts. I'm not what you would call naturally talented in the art department. I took a few art classes in high school, but that's about it. This will become obvious as the post continues.

To begin, I took a cheap card out but one that I knew I would enjoy seeing when I played casual games. As this is my very first attempt at something like this, I thought it would be best to choose a card that I wouldn't have fits over ruining. But I did want to use a card that I might actually play with if it turned out okay. Enter Brass Man. I love this card! A 1/3 for only 1 mana?! I was so pumped when I first saw this card. I remember jamming four of them into my deck along with four Ornithopters. So many robots!
The idea on this step was to erase the surface of the card where I wanted to paint and draw. In this case, I was focused on coloring the border. I don't think this eraser did quite enough roughing up to give the paint something to stick to, but it did remove anything that was lingering on the surface from more than 20 years of play.

Up next, I mixed some paints and brushed out the white border. This is not easy. For people who do this regularly and make it look good, my hat's off to you. I kept trying to let it dry and mix in more colors, but matching up colors is tricky! And I'm not patient. Maybe keeping a hairdryer around to help it dry faster would have helped.

My original plan was to use paint to lay down a foundation of color, then use markers on top to add some texture. Well, it added texture all right. The marker must have something in it that dissolves paint because it started to gum up on the surface as the paint and marker mixed. This turned out to work in my favor later, but it was entirely unexpected when it happened.

At this point, I started trying to add colors using the markers to build up different areas with yellow, brown, orange, and similar shades. I was able to remove quite a bit of the gummy paint just by waiting for it to dry a bit and then running the eraser over the border again. I figured I didn't have anything to lose at this point. That's what commitment feels like.
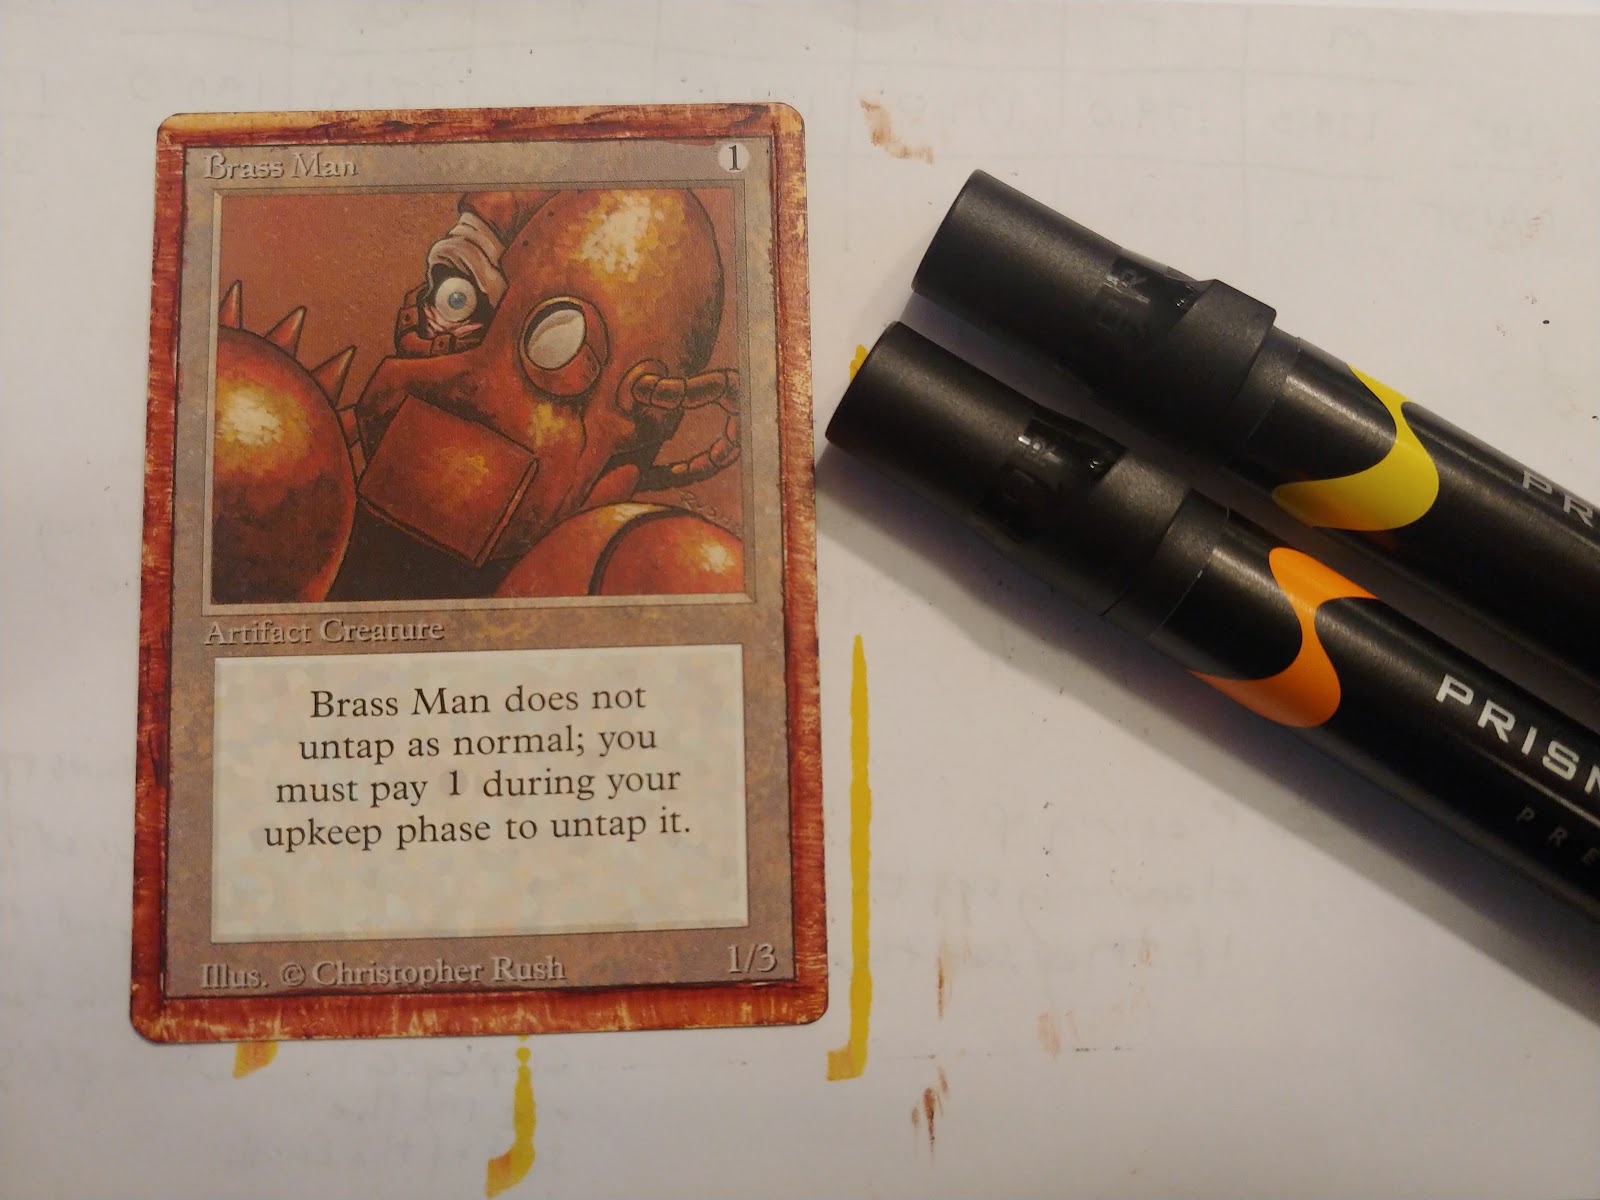
The Prismacolor markers seem really nice to work with. They have two tips, one on each side, that are more like paintbrushes than markers.

After lots of rounds with the larger markers, I switched to these fine tip Prismacolor markers. This allowed me to draw in the "bolt" details on the corners. I thought the black marker would draw on top of the color that was already there, but it just sort of mixed all in. I bet the ability to mix marker colors is a positive for an artist that understands how to make that work. For me, it was just a lot of trouble since it made the lines look blurry.

Eventually, I got to the point where I didn't think I was making it better. So, I signed it with my trusty black and silver Sharpies. The Sharpies lay down color that seems to "stick" better than the Prismacolor markers. And the Sharpie colors don't seem to bleed into each other or mix. I haven't tried the colorful Sharpies, though. I have some. Maybe I'll try those next.

Here it is without a sleeve on it. The border ended up picking up a lot of the colors in the Brass Man artwork, including the irregularity of the surface of the metal man with the dark brown, light brown, orange, and yellow highlights. The way the marker mixed with the paint gave it more texture than I think I would have been brave enough to try to create myself with markers.

And here's the same finished card in a double-sleeve. I use matte sleeves, front and back.

Here's the same card next to a copy of Brass Man with no alteration. Comparing side-by-side like this, I actually like the way the brown tones came out on the border of the altered Brass Man. It looks a bit like the card is bolted down to a piece of burnished brass. Neat! I'd love to see the same effect done by someone who has more experience and talent.

It was a fun project. It would be something fun to try with the kids. And I know that when I draw this card off the top, it'll have a nice memory attached to it. This is the perfect card to have signed by everyone the next time we are able to get together and play some Magic.
No comments:
Post a Comment