|
| Dragon Shield Sealable Inner Sleeves |
I'm one of those guys. I had been collecting sports cards for years before MTG came out, so when I started playing MTG the first thing I did was put all of my cards into penny sleeves. Shuffling penny sleeves is terrible, but I just couldn't imagine playing with my cards without some kind of protection.
Shortly thereafter, thicker sleeves were released that were made for shuffling! I bought hundreds of matching black sleeves so that all of my cards could be protected. The original sleeves were glossy and "sticky" from being too slick. But they worked.


In those early years, I saw plenty of players shuffle MTG decks like playing cards. You can still see the shuffle wear on old cards. It follows a pattern. If a player was careful, they could get away without bending the card too much. But it would still have tell-tale shuffle wear and a slight bend. Other players were hard on the cards. Creases were common. Even if you used card sleeves, bending the cards to shuffle them would eventually create minor creases or cracks on the surface of the cards. Over-hand shuffling or pile shuffling avoided this because the cards were never bent in the process, but it took longer. And because the old sleeves were so sticky/slick, it was difficult to get a satisfying shuffle.

Sometimes people would over-hand shuffle with no card sleeves and it would drive me crazy. Card edges would get dinged up immediately. Sleeves were necessary if you wanted your cards to stay in good condition. But even using sleeves, you had to shuffle in a particular way to avoid creases and bends.
And then there was the problem of the "open" top end of the sleeve.
In those early years, we didn't use play mats. I used to bring a small towel to put down on the table, but it would catch on the edges of the sleeves and made tapping difficult. On the plus side, it saved my sleeves from getting dirty from the grime on the tables at the local gaming store. The store didn't care what players did to those tables. They were just providing a gaming surface. So, there was always spilled pop or hand grease or god-knows-what on the tables. Play mats helped with this by giving you a portable clean surface.
Even so, taking your cards from one place to another, playing on different surfaces, playing without your hands being completely clean, loaning your deck out to other players, and not having secure places to store your cards for transport meant that dust and dirt could slowly work its way into the top of the sleeve.
This small amount of dust that collected on the top edge of the card was obvious after a while. Even re-sleeving your deck regularly didn't fix the problem because the card itself would get micro-scratches during play. You can see this wear pattern on old cards where 95% of the card looks great, but the top edge is hazy and scratched from being worn down. Every once in a while, a large piece of dirt would slip in through the top and start scratching the surface of the card during shuffling.
Inner sleeves to the rescue!
Eventually, thin inner sleeves came onto the market. This solved the problem of dust ruining the top of the card because you could slip the card into an inner sleeve upside down and then slip the sleeved card into an outer sleeve right side up. In this configuration, there's almost no way for dust/dirt to get all the way in the outer sleeve and inner sleeve to start damaging the cards. Whew. Problem solved.
I'm a stickler for keeping my cards protected. I'm also the kind of guy who changes his decks around. Rather than re-sleeving cards all the time, I bought thousands of KMC Perfect Fit inner sleeves to go with my thousands of matching matte black outer sleeves.
This brings us up to modern times. Outer sleeves are way better now. They don't split as often. They are matte, so they over-hand shuffle better. The inner sleeves work, but they aren't super-consistent. And sleeving the cards is tedious. If you get complacent during the process, it's possible to bend the card or rip the sleeves.
The problem is that the tolerances are tight when it comes to inner sleeves. If the sleeve is slightly too tight, pushing the card into the sleeves takes a surprising amount of pressure. It's entirely possible to bend the card. The other problem with the tolerances is that even if you get the card into the inner sleeve, pushing the card into the outer sleeve takes some practice because the card will want to slip back out of the inner sleeve.
Anyone who's sleeved up an entire deck of card this way will know what I'm talking about. You end up with cards where the inner sleeve has slipped off slightly and you need to start over. You can use another card to shoehorn the target card into the sleeve, but there's a chance you'll rip the outer sleeve with that method.
In other words, if you are careful you can get all the cards sleeved and protected. It's pretty good, but not perfect.
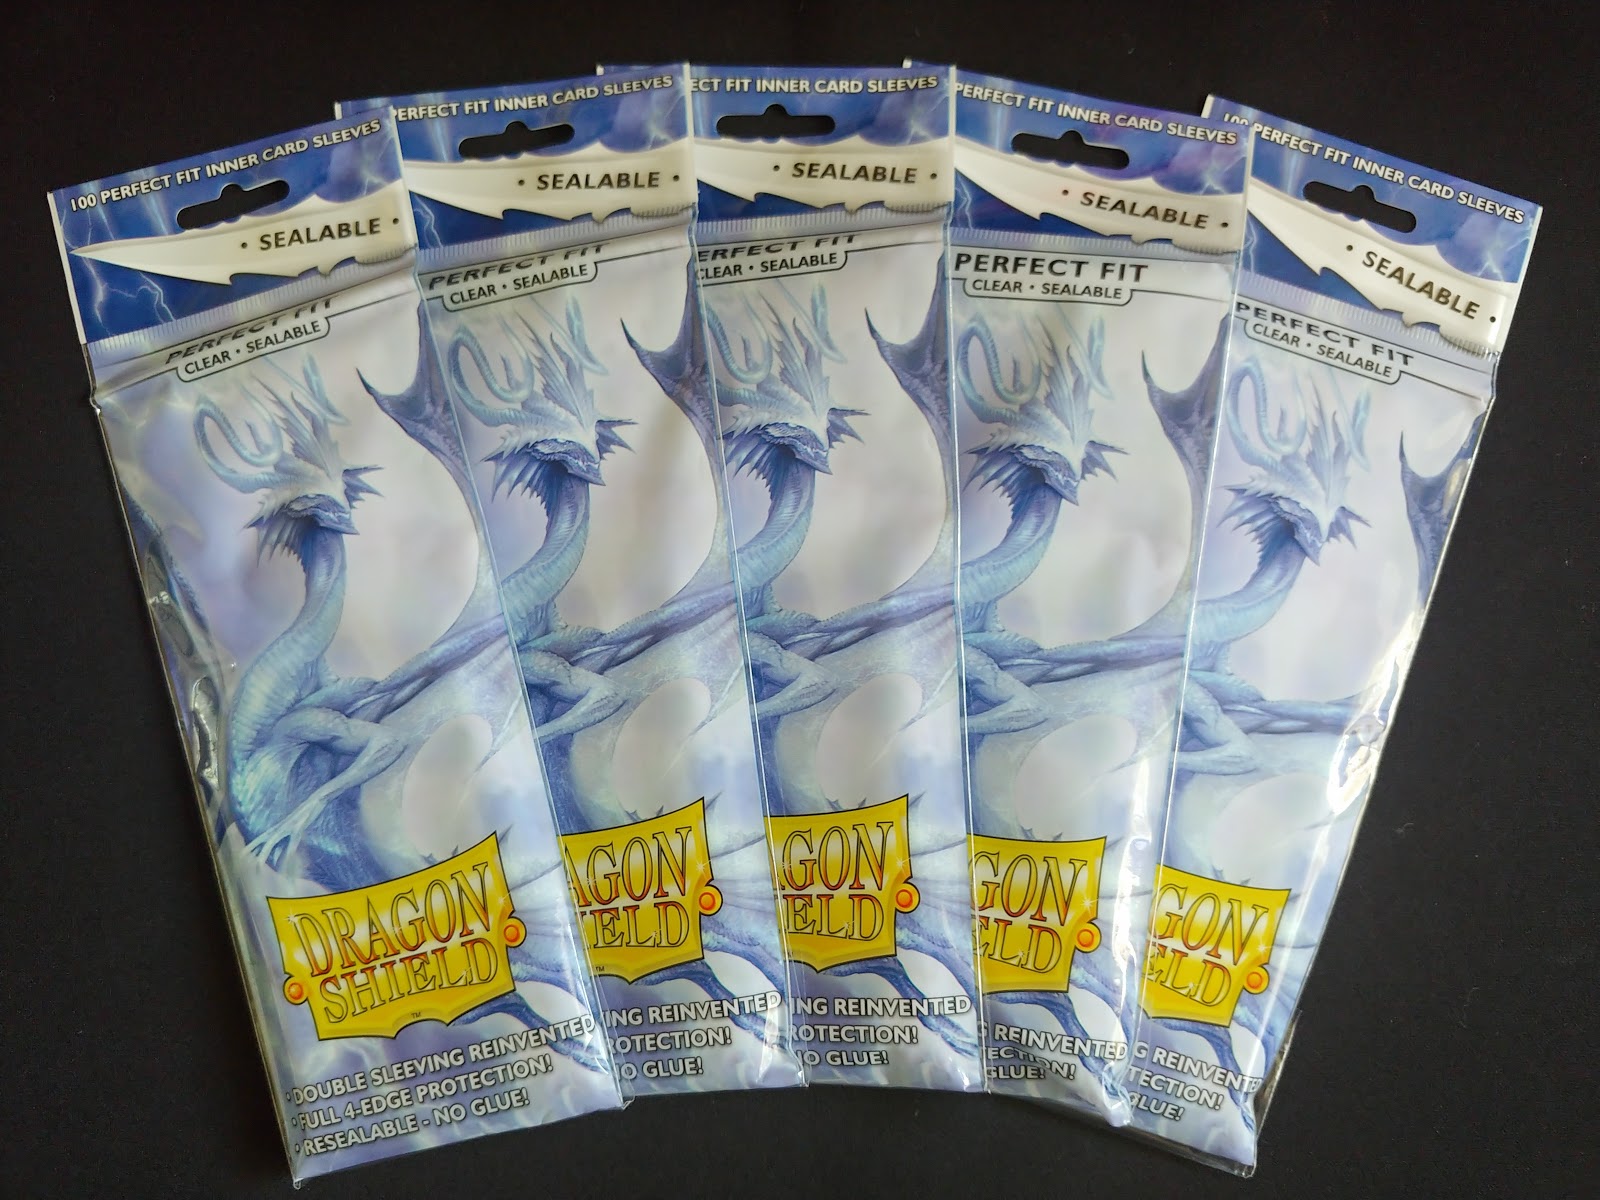
Which brings me to the Perfect Fits sealable inner card sleeves from Dragon Shield.
I've been tracking these sleeves since before they were released. The product certainly looked clever. But even when it came out, I was dubious. I'll admit that part of my resistance was not wanting to re-sleeve all of my cards. If I could get back all the time I've spent re-sleeving cards in my life, I'd be a lot younger.
But I've been collecting more Old School cards and I thought it was time to take the level of protection up a notch. I already keep the cards in a fire-rated safe, so the level of insanity has already reached quite high.
I ordered a ton of Dragon Shield Perfect Fit Sealables and went to town. It took hours. I'm talking about all day amounts of time to re-sleeve the cards. Was it worth it?
Here's the truth.
If your collection is starting to get valuable and you are considering taking the next step to use inner sleeve, start with these. It'll save you a ton of time in the end. They are objectively better.
If your collection is already valuable and you want to get that extra 5% of protection from having a sealable sleeve, go for it. They are better, but the difference is marginal.
Think of it this way. Maybe your Old School deck has some dual lands, a mox, some beta rares, and a bunch of unlimited cards. It adds up quick. The price difference between a regular perfect fit sleeve and these sealable sleeves is almost nothing. So, if you can get even just a little bit more protection for a negligible amount of additional cost relative to the thing you are protecting, that's a good plan.
What do these sleeves offer?
Basically, they close off that bottom edge of the inner sleeve. This addresses two key problems with the normal perfect fit inner sleeves. The sealables have a flap that you can use to push the card into the sleeve. It even makes a satisfying tuck when you know you have the card seated properly. No more accidentally bending your cards as you push them into the inner sleeve. The second thing is that when you push the sleeved card into the outer sleeve, it can't slip out of the inner sleeve. The "seal" on the bottom stops it from pushing out. This makes sleeving and re-sleeving easier.
I've seen tests where people sleeve up the cards and dunk them in water. Let's hope that situation never happens to any of us in real life. The worst situation I've ever had happen to me was someone opening a pop and spraying it all over the table while we were in the middle of a game. Everything was sticky, but the combination of outer and inner sleeves protected the cards just fine. I'm not sure the extra flap on the sealable would have made a difference.
 |
| These three cards are sleeved with KMC perfect fit. |
 |
| This card is sleeved with Dragon Shield sealable. |
The one other thing I like about these sealable sleeves is that they are super consistent. When the card is in one of these sleeves, it's in exactly the same spot as any other card in the sleeve. When you put it into an out sleeve, it's in exactly the same spot as every other card. It's a small thing, but it drives me crazy with the old inner sleeves when cards would sometimes sit slightly higher in the outer sleeve and sometimes slightly lower. It's not enough to matter. But I can tell the difference.
Here's what I don't like about the Dragon Fit sealable inner sleeves so far. It's enough that if I could snap my fingers and undo everything, I might. Yes, I believe that there's slightly more protection, but the range of situations where that slight extra level of protection is going to matter is vanishingly small.
The sleeves are thicker. Double-sleeved card are already a handful. It's a necessary evil to keep your cards protected, but adding even more thickness is frustrating for storage and shuffling. This is the same number of cards. I pushed both sets of cards down before I took the picture. Dragon Shield sealables on the left. KMC perfect fits on the right.

This is the thing that's going to drive me the most crazy. The cards don't sit quite level. Back in the day, if you only used outer sleeves the cards would sit like this because the bottom edge of the sleeve was sealed and ever-so-slightly thicker. Adding an inner sleeve turned the opposite way leveled this out. The entire deck would sit level once the air was pushed out. Now, with these sealable inner sleeves there is a slightly thicker bottom again. It's subtle. It's possible it will push a little more flat over time. But I'll miss having the deck sit level. It becomes more pronounced with more cards, of course. If you are using these for your Commander deck, get ready for the deck to sit slightly off level.
There's one other thing that drives me crazy. The sleeves themselves in their packaging do not fit in any of my normal storage systems. They are packed from the factory in an "unfolded" state. That's great for actually sleeving cards, but it's not great for storing the extra unused sleeves. With normal perfect fit sleeves, they can be put into sleeve bags and then wedged into a normal storage box. These sealable sleeves are extra long before they are used, so they don't fit anywhere neatly.